If you’re like me and don’t have an “Instagram Husband” and you have to take all your outfit photos by yourself just with a camera on a tripod it can be hard to know exactly what the camera is seeing as you pose away. That is, until you download your pics and discover that you’ve committed a bunch of photography crimes which have ruined your photographic efforts.
I’ve shared tips on how to pose for photos and also how to take a selfie from a tech aspect as well plus how taking an outfit photo can really assist you in becoming more stylish.
Now people often say to me “all your photos are great”, but they don’t see behind the scenes, and just how many photos I have to delete as unusable. I probably take at least 30 photos for each photo you see. Today, I’m sharing some of my epic fails and what to look out for so you don’t make the same mistakes as me!
1. Check your Teeth for Lipstick
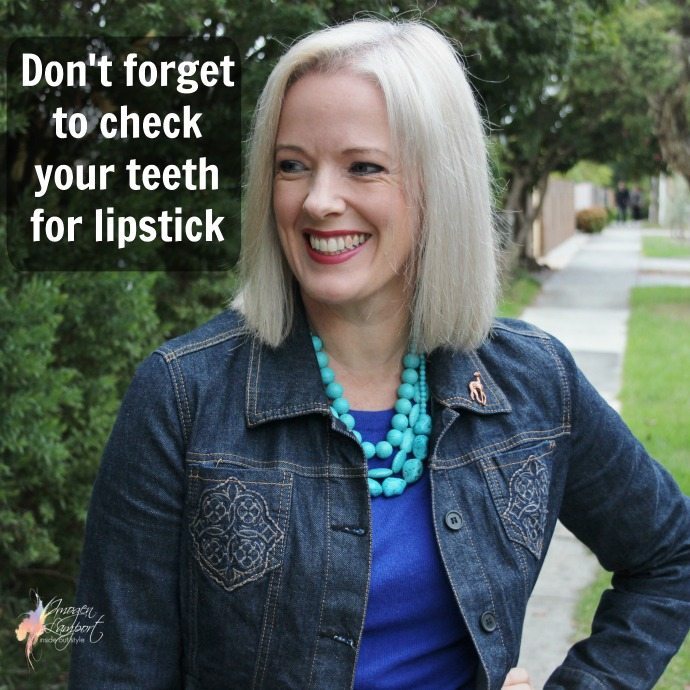 I can’t tell you how many photos I take and discover afterwards I have lipstick all over my teeth.
Sure you can touch up your photo and get rid of the lipstick (which if you’re not a photoshop person can be a bit tricky), but honestly I really do minimal editing to my photos – I may brighten a photo or increase the contrast but I’m not into doing all sorts of changes to my physical appearance as I want you to know that what you see is what you get.
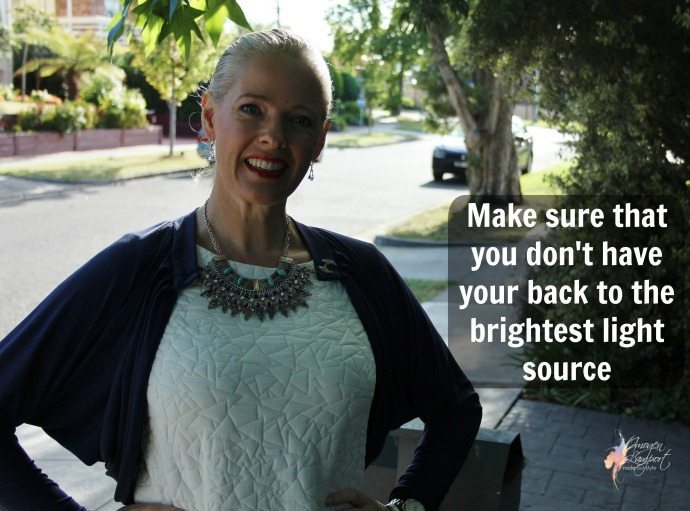
2. Make Sure The Brightest Light Source is In Front of
If the sun is behind you will end up looking dark. It’s very hard to brighten the photo up without then blowing out the background. I fall prey to this one over and over!
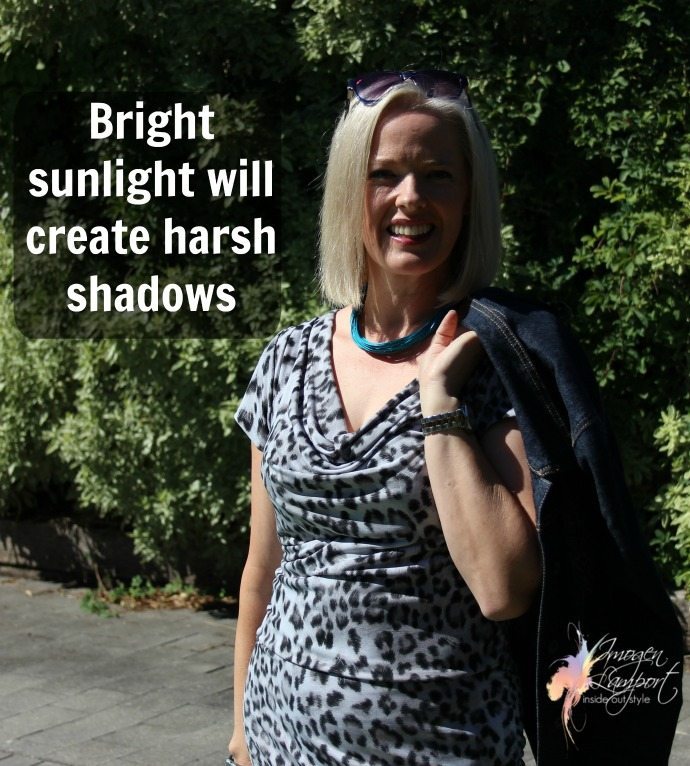
3. Don’t Take Photos in Direct Sun
Direct sunlight creates harsh shadows. Early morning and dusk light are the most flattering lights to take photos in. Try and avoid photographing yourself in direct sunlight.
I try and get my outfit photos taken first thing in the morning before the sun is too strong and direct.
Also be careful of taking photos in dappled sunlight where you get strange splotches on your face.
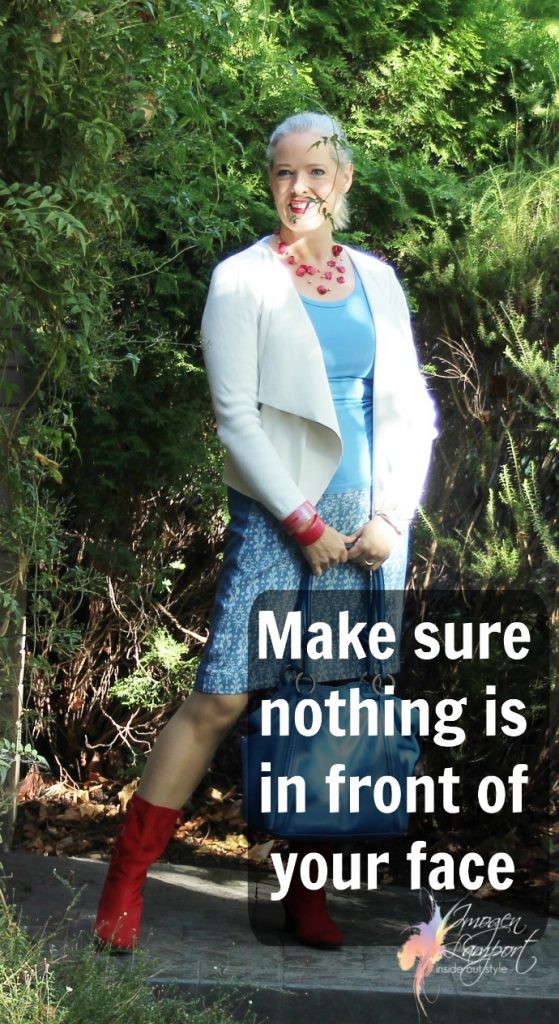
4. Check What’s Around You
It may be hard to believe, but I didn’t see this jasmine vine in front of my face when taking this pic. But you can certainly see it in the photo!
Check out what is in front of you (between you and the camera) and even behind you (you don’t want stray poles sticking out of your head).
5. Get a Clear Shot
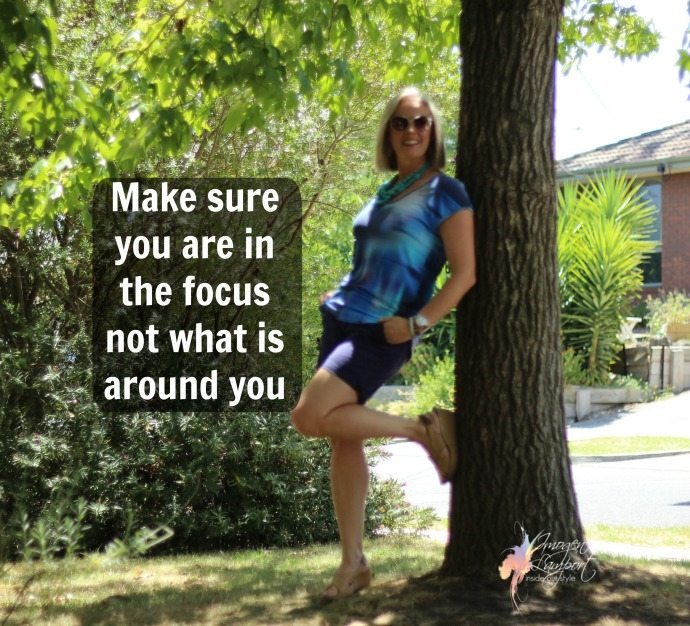
Find out what part of the frame the camera is focusing on, then make sure you’re in that area while the camera focuses, otherwise you will be blurry and what is around you will be clear.
You can’t edit yourself into focus!
So there you have my top 5 tips and some photos that otherwise would never have made it to the blog to illustrate just how easy it is to get wrong, but also what you can look out for so your outfits photos shine!











Here’s an old grandma trick for *before* the photo: after you put on your lipstick, stick a forefinger into your mouth and close your mouth on it tightly. Pull it out. Wipe off the lipstick. Do it one more time. That was the lipstick that would have gotten on your teeth.
Funny! But helpful too. Loved the Instagram Husband video too!
IT would be handy to have one, sadly Mr Inside Out Style just chops off my feet or head or does strange framing and will only take 1 photo at a time not 20
Imogen, even your photo fails are inspirational! You are so naturally beautiful! I especially love the color combinations in your “Make sure nothing is in front of you” pic. I never would have thought to accessorize baby blue with a pop of RED! So fun 🙂
Thanks Teresa – you are too kind