 By Ms MakeItOver Bernadette Lis
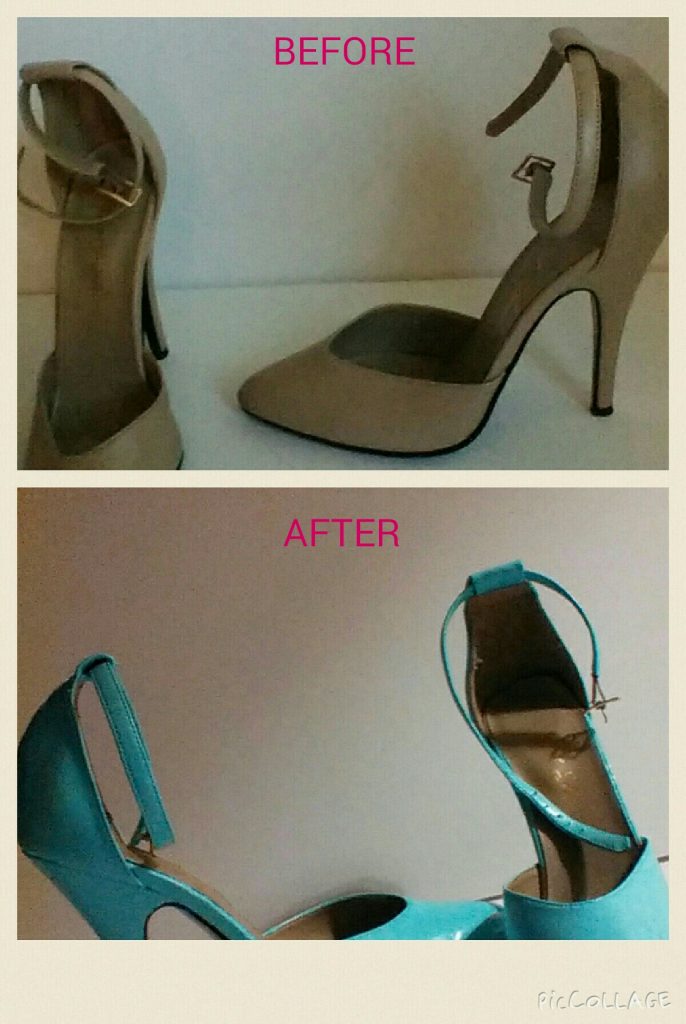
We all love shoes! If you’d like to have some fun with, a pair that doesn’t thrill you anymore or need a colour which is difficult to find, then grab some leather paint and let me show you how I changed mine.
Tools
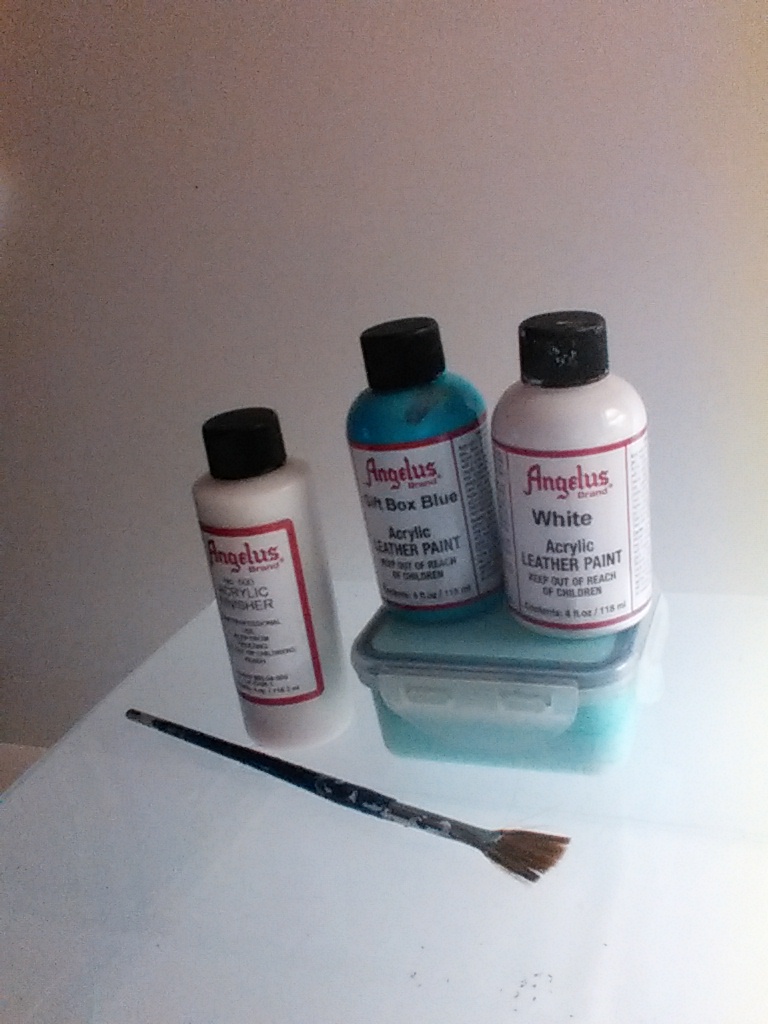
You will need:
- shoes
- Ammonia cleaner (for artificial leather)
- Angelus leather preparer and deglazer (leather only)
- Angelus acrylic leather paint (get your colour and anything you’ll
need to adjust it, colour charts are deceptive!) - Closable jar (for “your” colour mix; I am using Gift Box Blue
mixed with White) - Small artist’s brush (gets close to edges for outlining; I have my
favourite “fan” brush) - Foam brush, applicator pad, paint brush (your choice)
Paper towels or rags - Cotton swabs or “q-tips” for boo-boos
The ammonia cleaner can be household or any brand you have from your supermarket.
The paint and other supplies can be from your local craft store or from:
http://www.dharmatrading.com/
There are other brands of leather and shoe paint; this is what I am using for this project. Some brands come as a small kit with everything you need, so just use what you feel comfortable with.
Basic Instructions
Clean your shoes before you begin with either the leather cleaner or the ammonia cleaner. Have a little practice run at getting up close to, but not on, the sole of the shoe. This paint is easily removed while wet with a damp cloth or cotton swab. Start outlining the shoe after removing any removeable straps. Start at about 1/4 inch away from the edge and let only a few bristles on the brush get close enough to actually cover the area right next to the sole. After outlining, the order I did my shoes in was the little side areas, front, back, heel. I did the heel by holding the shoe in the middle without touching the sides. I outlined and filled in three times. This paint levelled out to a smooth finish by itself, so a winner in my book! The straps I did separately and hung them by the buckle to dry with a safety pin and a wire hangar. When the shoes are completely dry, you can use the acrylic finisher (but I have other plans) and stop here if your taste and style are just for a change in colour.
For my shoes, I mixed Gift Box Blue with White for this lovely aqua. You may want to consider mixing to get your own custom “nude” colour which can be difficult to find for many.
Before you ask, I have never had a paint peeling problem with any brand even though one pair once had over ten changes on them!
And yes, you can change a pair of black shoes to white or any other colour, but they may need extra coats.
Adding Detail
And now for one of my crazy experiments! (I love to play!!) Have a think about what design you would love on your shoes. I have always wanted the watercolour wings from my art poster (“In the Park” by Laura Noble) on my shoes! I have no talent in painting, so I am going to be making decals from photocopies and apply them to my shoes. Use your imagination and use areas of artwork, fabric prints, tribal tattoos. Tribal tattoos make excellent decals and with your computer’s photo editor and colour replace features, you can adjust their size, get a custom colour, and get mirror images of them. Print a sheet at home to check for size and colour but you will need to go get copies from an Office Max or other copy service store which uses a dry toner. Inkjet printing does not work for this! Get extra copies “just in case”. Just remember that you will also need “mirror images”!
Study this little tutorial carefully and I strongly suggest that you don’t “fine-tune” cut out your image until you have finished the last step. Leave extra paper around the edges of each image so it is easier to handle.
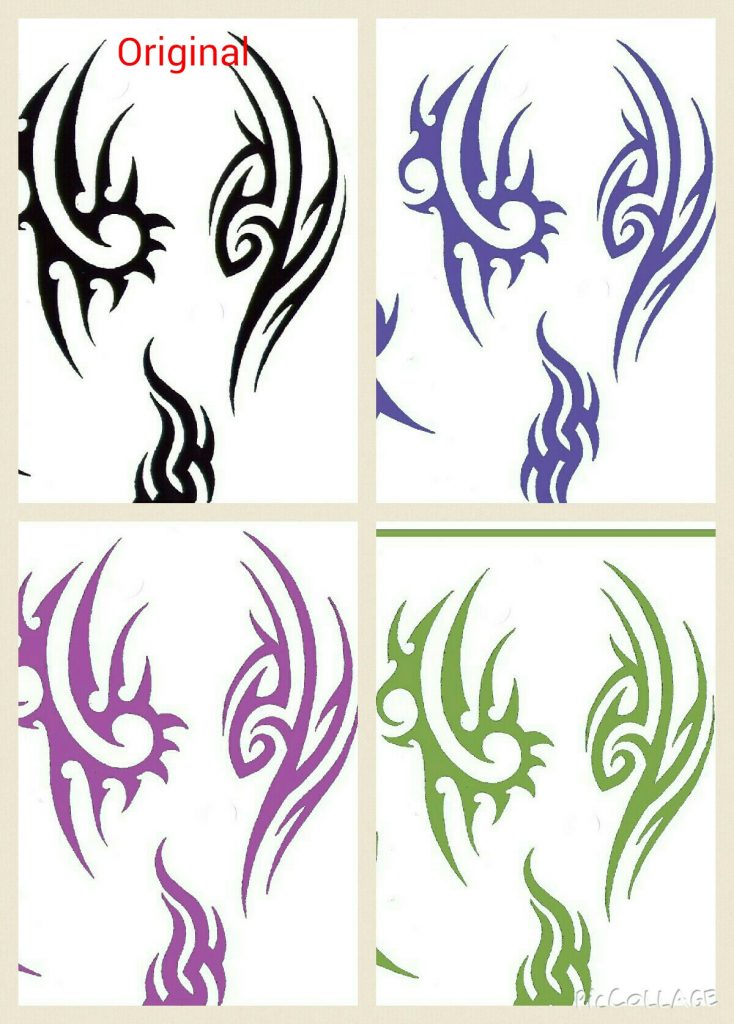
You will need:
- Enough copies and mirror image copies (dry toner only!)
- Liquitex Gloss Heavy Gel Medium ( from Joanne Fabrics art paint
department) (I got Liquitex Glazing Liquid by mistake and it
worked fine) - Scissors (small and sharp for any intricate cutting)
- Work surface – glass sheet or old mirror or see the instructions!
- Angelus White Acrylic Leather Paint (the decal colour will be a
clear colour and you need to paint the back of them white so
they will show up properly against your shoe colour while
remaining flexible to work with) - Brush or foam brush for application
Read the instructions on how to make the decals carefully. Remember to leave the “fine” cutting for later or it can make paper removal tedious! I used four coats and left them to dry until the next day for paper removal. After rubbing off as much paper as I could (you have to be gentle) the following day, I waited a few hours and put a coat of Angelus white leather paint on the wrong side. I let that dry for a few hours and came back to finely cut out the decals I needed. I used the acrylic medium to glue the decals to my shoes where I had planned them. I coated the decals with a little more medium since my design had “seams” in the middle and it made me feel safer! This was my first attempt at this so I am now curious what a matte finish would do. I would leave this project at different steps and come back to it even a day later, so don’t think you have to do it all at once; I took my time! I do love the effect and I now have winged feet!
Painting too Hard?
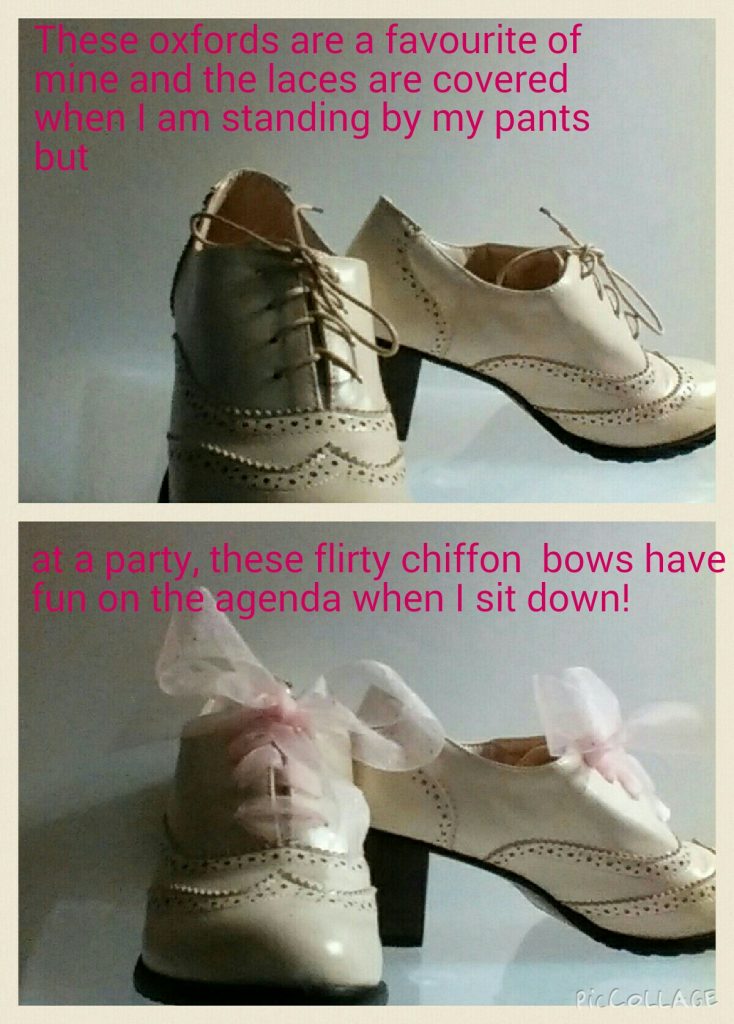
Now that you know I’m crazy and don’t want to go through all that, just changing the laces can make a big difference in the fun factor of your shoes. I love chiffon ribbon, lace, ribbon, striped and patterned ribbon, you name it. Red and white stripes are great for a “holiday” touch. You just go to any ribbon and trim section of a fabric or craft store and get two lengths (I always get about four inches longer than the original laces) of the ribbon and just cut the ends at a sharp angle for ease of lacing





Fantastic article! Bernadette gives reliable and easy to follow instructions to guide us through all the steps with plenty of tips and tricks along the way. So practical and creative. Why not change and update the colour of your shoes? I love how you can not only customise the colour, but then take it to even greater levels by adding prints and patterns. Many thanks for your inspiring and enlightening article.
Thank you Sue!
Hooray, now I can finally have nude shoes! Any advice on testing the colour you’ve mixed before painting the shoe Bernadette? It does seem a bit scary… Oh and how about changing the colour of buckles?
When you are testing the colour to match your skin, I would let your test spot ( on white cardboard or posterboard should be good) dry completely. The light colours dry a little darker. Since you have to mix your own skin colour, I would get a colour that looked close and then add white, a pink, or a yellow to tweak that colour to a good match for yourself. A brown may also be handy to have around.
I would like my metal buckles to be different sometimes too, but I usually work with the ones I have. If they really bothered me, I would look at jewelry finding stores and shoe repair sites on the internet and youtube for how to change them.
Way cool!
Thank you!
This post is so fun. I was especially inspired by the tulle shoelaces as there seems to be lots of tulle looks (including tulle belts in the Fall 2015 collections. Clever girl.
Accidental Icon
http://www.accidentalicon.com
I’m happy that you liked the chiffon laces! I’m all for frilly fun!
I am inspired Bernadette- you make it look so easy!
It is easy, Joy!
Wow! I have never thought about painting shoes! Thank you for the detailed instructions, Bernadette. Very creative and unique.
I hope it tempts you to paint a pair!
I have a pair of suede ankle boots that I have worn to death. Originally they were aubergine but have faded unevenly to dark lavender. Have considered dying them navy but painting sounds less messy. Would this work for suede?
Oonagh, I have not personally refurbished suede before. I know that there are Angelus suede dyes, but have not tried them. I do know that there are mixed opinions with some friends being perfectly happy and others saying that the dye comes off. (Suede uses a special dye, not regular shoe paint). With that being said, if it is a case of try or replace, I would definitely try and also use a suede protector afterwards.
What a wonderful idea Bernadette. I knew you were painting some sandals (that looked great by the way) but I never thought of painting my heels. I may have to try this sometime. Very precise instructions that even I can follow. Good job!
Thank you Shirl!
Hi Bernadette. I just bought a pair of turquoise-clored satin shoes and want to change to nude color. Do you think it’s possible to do so? Any brands/tips that you would recommend?
Does this work on Nike trainers? My dad just bought a pair of blinding white trainers and is thinking about changing the colour.
IF they are leather yes – if they are fabric no